Adding a custom AI provider to Kari
Copyright © 2026GotoAI Inc.Based on the goose project
Even for an AI provider that Kari does not ship with, you can add it as a custom provider as long as its API is OpenAI-compatible, Anthropic-compatible or Ollama-compatible. A local LLM running in your office or on your own PC is registered the same way.
- On the Configure your AI Provider screen, click Add a custom provider.

Screenshot shown in the original Japanese.
-
A screen appears asking how you want to configure it. To pick a known provider and have the settings filled in for you, click Start from a provider template. To enter everything yourself, click Configure manually.
-
Enter the provider's details. Fields marked with
*are required. This guide uses OumiGo, which manages a GPU fleet, as the example backend.
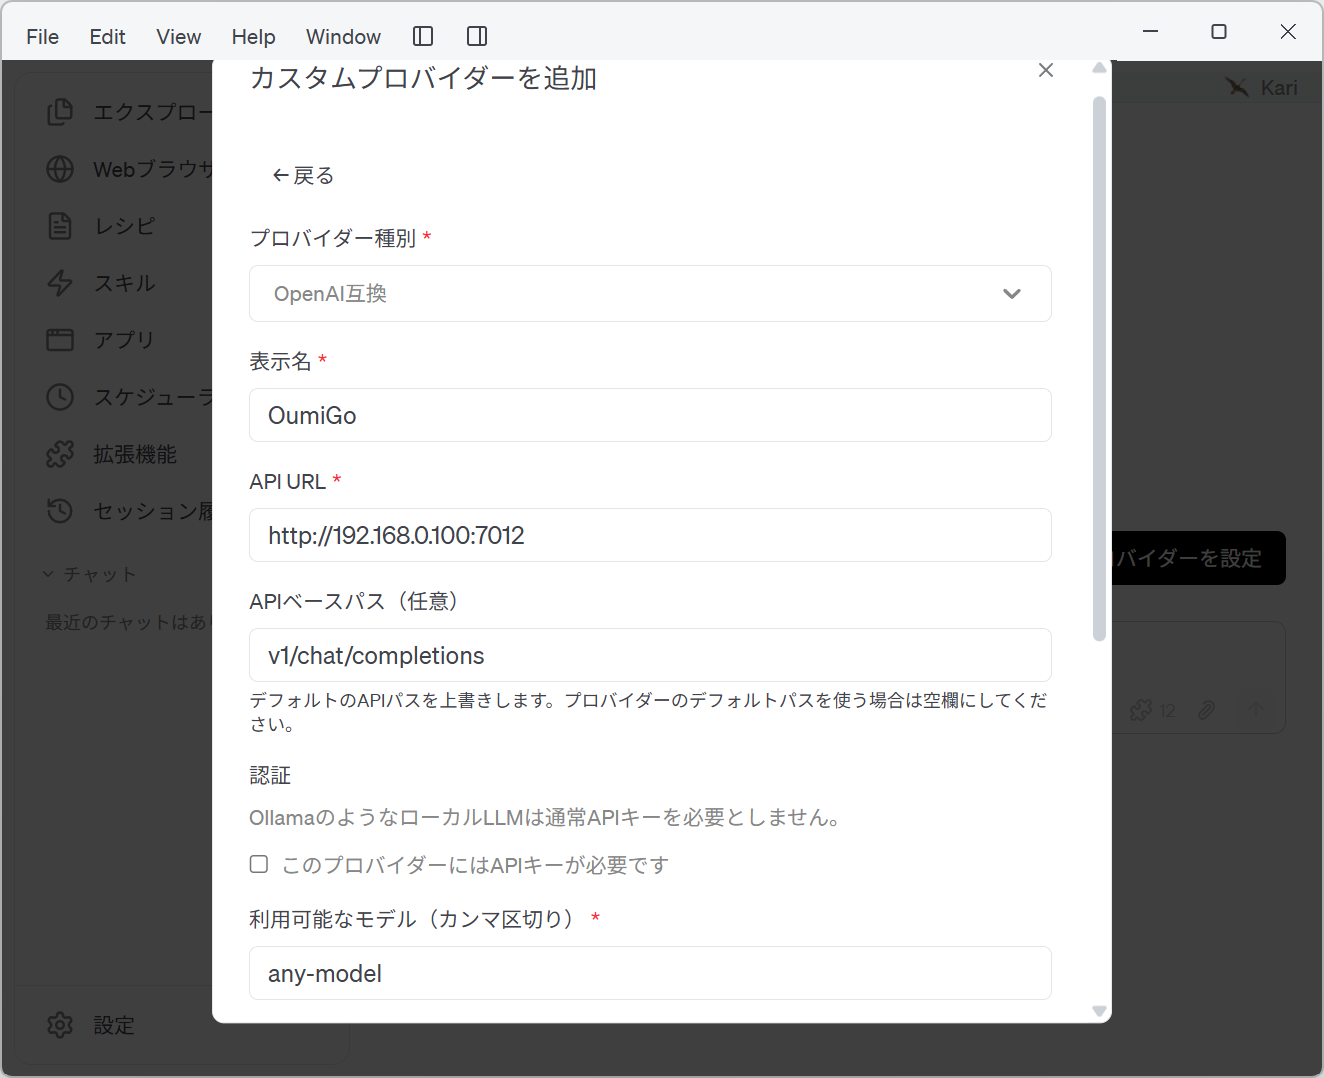
Screenshot shown in the original Japanese.
- Provider type: choose OpenAI-compatible, Anthropic-compatible or Ollama-compatible to match the shape of the API.
- Display name: the name shown in Kari's interface.
- API URL: the provider's endpoint. For a local LLM this is an address such as
http://192.168.0.100:7012. For OumiGo, give the Manager's host and router port. - API base path (optional): fill this in only to override the default API path. Leave it blank to use the provider's default.
- Authentication: for providers that need an API key, turn on This provider requires an API key and enter the key. Local LLMs such as Ollama usually do not need one.
- Available models (comma-separated): enter the model names to use, separated by commas. With OumiGo, the LLM is configured in advance on the Manager node, so any model name will do — the model name is updated as needed during an OumiGo chat session.
-
Scroll down and you can also set per-model capabilities (Tool calling, Reasoning, Attachments), Context length (tokens), This provider supports streaming responses and Custom headers. Set these as needed.
-
When you are done, click Create provider to save. The provider you added can then be selected from the list on the Configure your AI Provider screen.
-
Select the custom provider and model you added, and start working in the chat session.
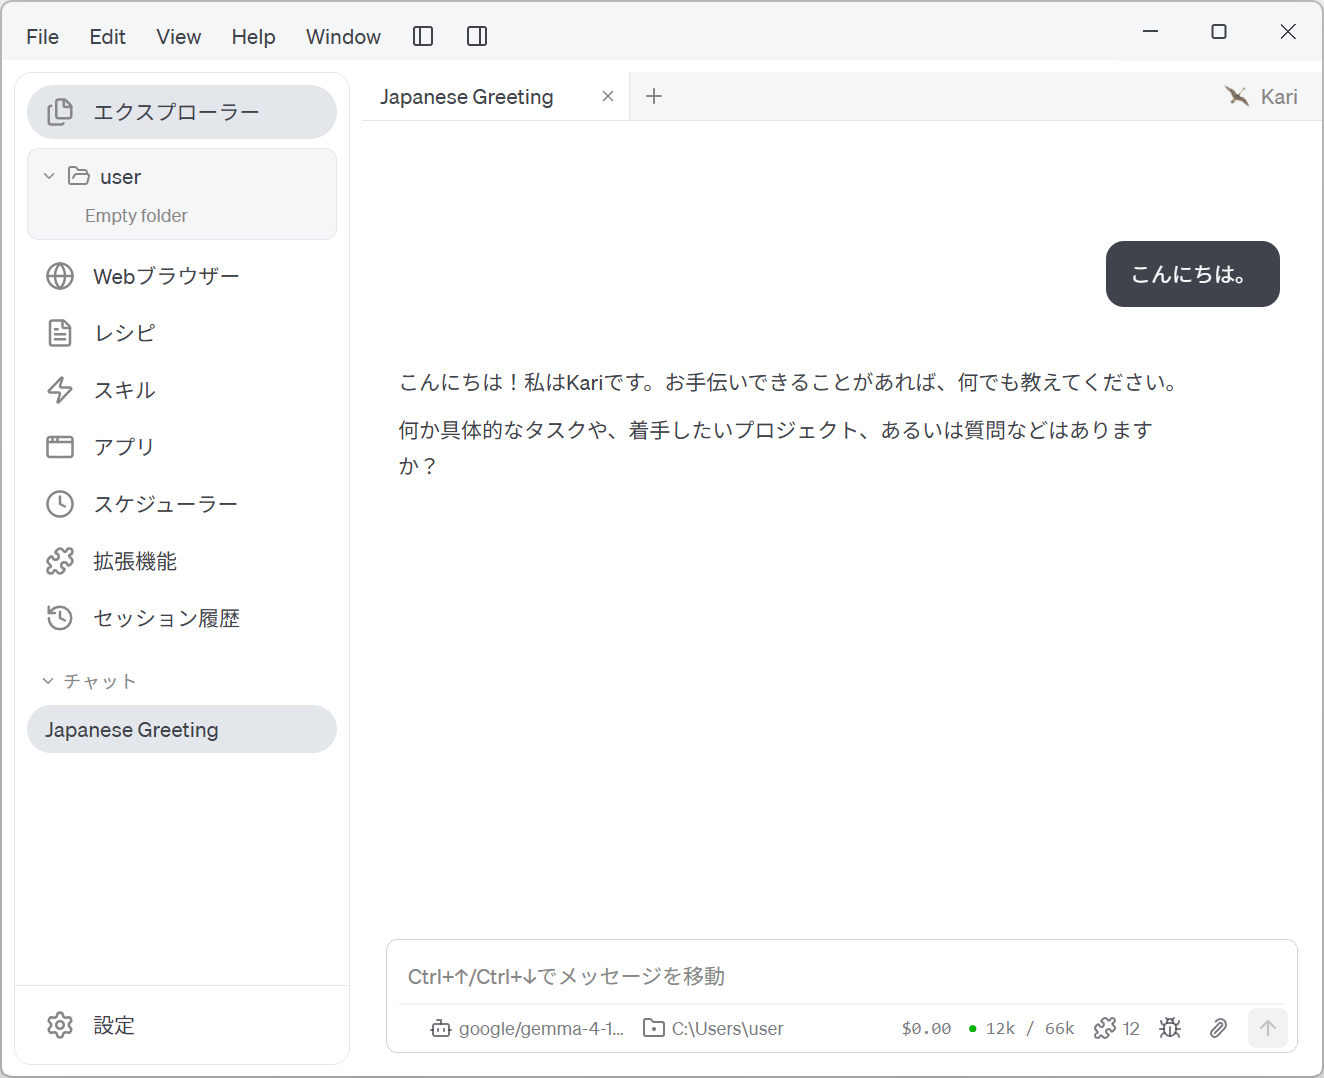
Screenshot shown in the original Japanese.